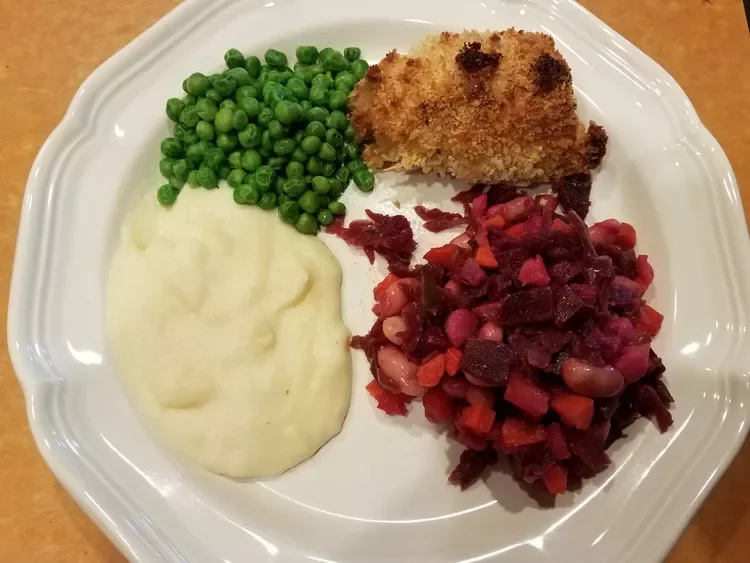
Press picture to view video!
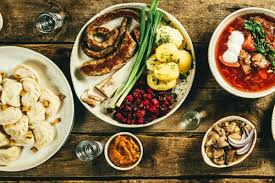
Ukrainian Cuisine & All Things Ukrainian
Українська кухня та все українське
What makes the Ukrainian people tick?
Ukrainians are known for their rich cultural heritage, strong family values, and deep sense of community. Here are some key aspects that define them:
- Hospitality: Ukrainians are incredibly welcoming and generous. They often go out of their way to make guests feel at home, offering food and drink as a sign of hospitality1.
- Traditions and Customs: Ukrainian culture is steeped in traditions, many of which are tied to religious and seasonal events. For example, Easter is celebrated with beautifully decorated eggs called pysanky, and Christmas involves elaborate feasts and caroling12.
- Resilience: Given their history of overcoming numerous challenges, including political upheaval and conflict, Ukrainians are known for their resilience and strong spirit2.
- Family-Oriented: Family plays a central role in Ukrainian life. Family gatherings are frequent and often involve extended family members2.
- Love for Nature: Ukrainians have a deep appreciation for nature and often spend time outdoors, whether it’s gardening, hiking, or enjoying picnics in the countryside1.
- Cultural Pride: Ukrainians take great pride in their cultural heritage, including traditional music, dance, and clothing. The vyshyvanka, an embroidered shirt, is a popular symbol of national pride1.
- Community Spirit: There’s a strong sense of community in Ukraine. People often come together to support each other, whether it’s through local events, communal work, or helping neighbors in need1.
These traits make Ukrainians unique and contribute to their vibrant and enduring culture.
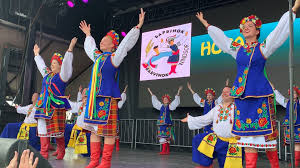
Varenyki
Вареники
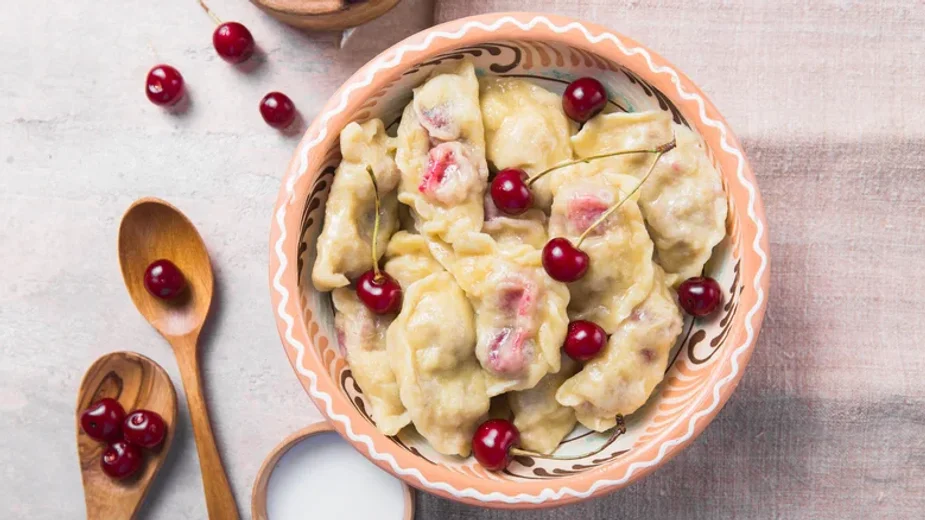
If you’ve experimented with various eastern European dumplings, you’ve probably come across varenyki. The half-moon-shaped treats come with assorted fillings, both savory and sweet. They are well-represented in local literature and culture and are even celebrated with monuments (via Ukrainian People).
The foundation is straightforward, with flour (wheat or buckwheat), egg, curdled (or fermented) milk or water, and salt, as the basic ingredients. The dough is rolled out thinly and stuffed before being dropped into boiling water. For a creamy touch, cottage cheese makes an excellent filling, and a hint of sugar and butter keeps it in dessert territory.
Another popular version incorporates sour cherries, mixed berries, or currants, served with sour cream or honey for a sweet and tart treat. Yet a different variation is made with a poppy seed filling and enjoyed with a drizzle of honey, as described in the book “Proceedings of the Ethnographic and Statistical Expedition to the Western Russian Land” (via Moscow Times).
Read More: https://www.tastingtable.com/1164966/ukrainian-desserts-everyone-needs-to-try-once/
Ukrainian Potato Varenyky Recipe
Ingredients
For the Dough
- 1 egg (see note below for a vegan version)
- 2/3 cup water
- 1/2 teaspoon fine sea salt
- About 2 1/2 cups all-purpose flour, plus more for dusting
For the Filling
- 2 pounds russet potatoes (4 medium or 6 small), peeled and cut into 1/2-inch chunks
- Fine sea salt
- 2 tablespoons extra virgin olive oil
- 2 medium yellow onions, diced
- Freshly ground black pepper, to taste
- Unsalted butter, for serving
- Sour cream, for serving
Instructions
- Start the dough. Combine 1 egg, 2/3 cup water, and 1/2 teaspoon salt in a large bowl, and whisk to incorporate the egg into the water. Add 1 cup flour, mix lightly to incorporate, then add 1 1/4 cups more flour. Combine into a shaggy dough.
- Knead the dough. Turn the dough out onto a floured surface. Knead with the heels of your palms – giving the dough a quarter turn every now and then – for about 5 minutes, incorporating the remaining 1/4 cup flour as needed. The dough is done when it’s smooth, elastic, and no longer sticks to your hands. Place the dough back in the bowl, cover loosely with a kitchen towel, and rest for 30 to 60 minutes at room temp.
- Meanwhile, start the filling. Place the potatoes in a pot with 1 teaspoon salt and enough water to cover by about 2 inches. Cover, bring to a boil, reduce the heat to low, and simmer with the lid ajar until the potatoes can be pierced easily with a fork, 12 to 15 minutes.
- Meanwhile, heat 2 tablespoons oil in a large skillet over medium heat. Add the onions and cook, stirring frequently, until they’re dark brown and a bit crispy, about 15 minutes. Set the skillet aside.
- Finish the filling. Drain the potatoes and return to the pot. Mash until smooth. Stir in about a third of the fried onions with their oil. Season to taste with salt and pepper. Cool the mixture to room temp.
- Roll out the dough. Divide the dough into 4 pieces. Working with 1 piece at a time (keeping the remaining dough covered with the towel), roll the dough between your palms into a 1-inch-thick log. On a floured surface, cut the log into 8 to 10 1-inch pieces. Using a rolling pin dusted with flour, roll out each piece into an approximately 3-inch circle; if the dough is sticking to the surface or rolling pin, dust it with more flour.
- Form the varenyky. Working with 1 circle of dough at a time, place a heaping teaspoon of the filling into the center. Gather the dough into a half-moon shape around the filling and pinch the top closed, then pinch both edges closed. Place the shaped varenik on a well-floured baking sheet or cutting board, and continue filling the rest. Make sure the varenyky are not touching – otherwise, they’ll stick together.
- Boil the varenyky. Bring a large pot of water to a boil and salt it generously. Boil the varenyky in batches – 6 to 10 at a time, depending on the size of your pot. Cook them for 2 to 3 minutes – they are done when they’ve floated to the surface, the water has returned to a simmer, and they’ve simmered for about 1 minute. Do not overcook, as the filling may escape the dough.
- Using a small mesh strainer or slotted spoon, fish the varenyky out and place in a large bowl. Immediately add a small pat of butter (or drizzle of oil) and gently toss to prevent the varenyky from sticking together. Continue cooking the remaining varenyky. At the end, add all the remaining fried onions to the bowl and toss to coat.
- Serve immediately, alongside sour cream.
Notes
For a vegan version, use 1 tablespoon oil instead of the egg. Serve with vegan sour cream or vegan Greek-style yogurt.
Ukrainian Red Borscht
Український червоний борщ
Ukrayinsʹkyy chervonyy borshc
“Borscht is a classic beet soup that’s so comforting and delicious. This recipe comes from my Ukrainian friend’s mother, who taught me how to make it.”
Traditional Ukrainian Borscht Recipe
- This Ukrainian borscht recipe may sound intimidating, however, once you prepare it, you’ll see that it’s pretty easy to make.
- The meat can be left out to make vegetarian borscht.
- To add extra protein to vegetarian borscht, add a can of great northern beans.
- Besides beef, you can use pork, chicken, lamb, or ground pork or sausage in this recipe.
What You Need For This Recipe
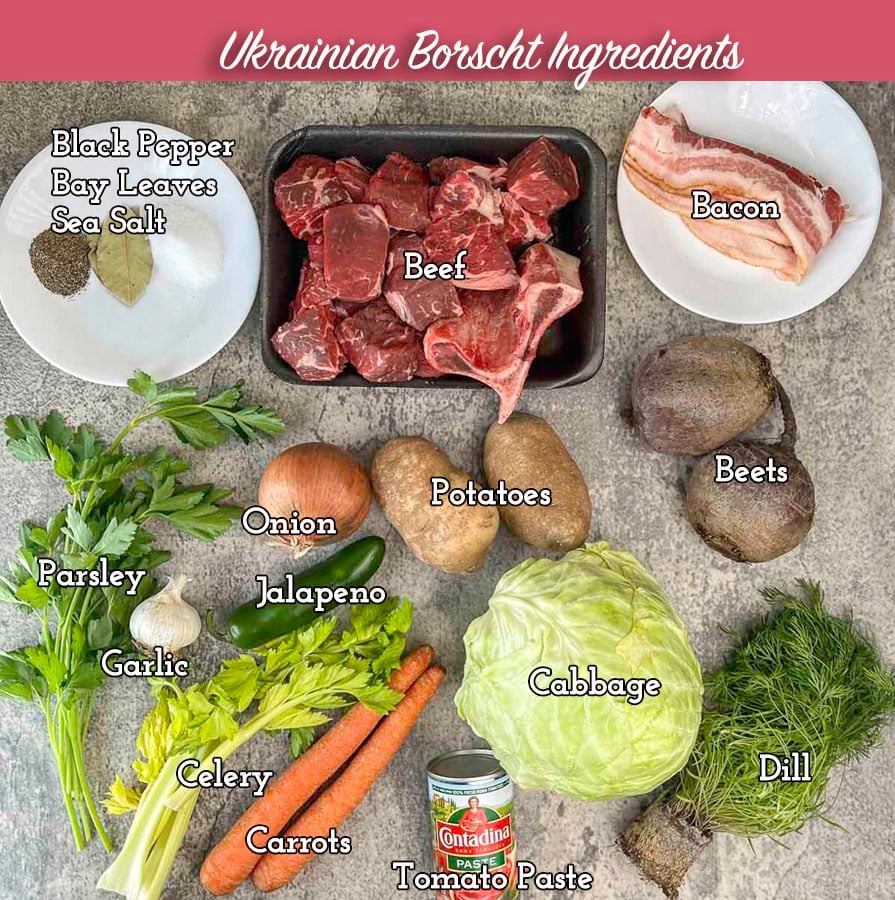
- Meat: I used 1 ½ lbs of good quality beef and some soup bones. You can leave the meat out to make vegetarian borscht or use pork, chicken or turkey instead.
- Veggies: This soup is loaded with vegetables! You’ll need beets which give the soup its color and sweet flavor. You’ll also need carrots, celery (optional), onion, garlic, cabbage, and a few potatoes.
- Oil: I sautéed the meat and veggies in the bacon grease. However, you can also use lard, olive oil, or avocado oil.
- Herbs: Traditionally, fresh dill is mixed into the soup and to garnish the dish before serving. I also added about ¼ cup of Italian parsley to the soup and used a small amount of parsley as garnish as well.
- Spices: The only spices you’ll need are sea salt and black pepper. Some borscht recipes also add allspice.
- Toppings: Before serving the soup, you’ll want to add a dollop of sour cream or plain yogurt and some chopped fresh dill.
- Vinegar: Feel free to use white distilled vinegar, pickle juice (especially from pickled beets), lemon juice, or citric acid.
- Sugar: If you prefer your borscht sweeter, mix in a tablespoon (or more or less) of sugar. Mine only needed 1 teaspoon.
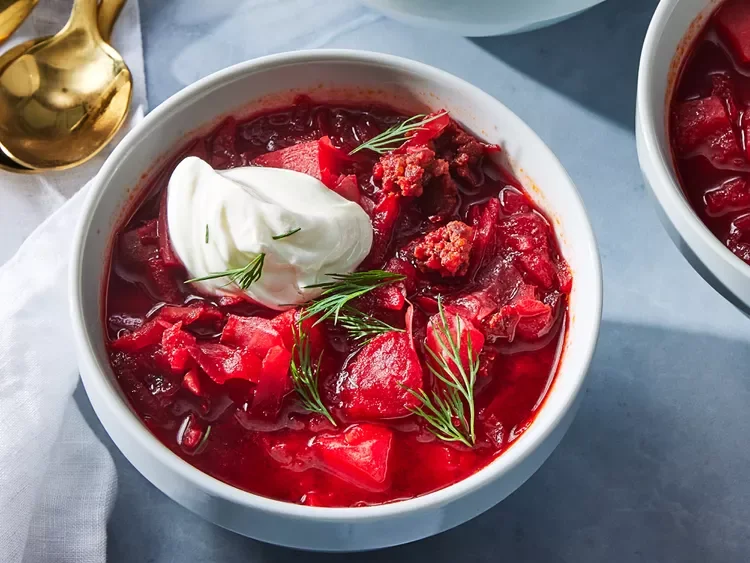
How to make Borscht
Step 1: Cube meat into 1-2″ pieces. Add to a large soup pot or Dutch oven along with soup bones and bay leaves. Cover with 10 cups of cold water and bring to a boil over medium heat. Once boiling, cover and simmer on low heat for 45 minutes to an hour.
Step 2: While the meat is cooking, prepare your vegetables by dicing the onion, and chopping the carrots and celery. Next, slice (or shred) the cabbage, peel and cube the potatoes, and peel and julienne the beets.
Step 3: Remove the meat from the Dutch oven and strain the broth. Wipe or wash the pot then add the bacon. Fry the bacon over medium-high heat then remove from the pot. Sear the meat on all sides in the bacon grease.
Step 4: Add onions, carrots, celery, and chopped bacon to the pot. Sauté for a few minutes then season with salt and pepper. Add tomato paste and sauté for a few more minutes.
Step 5: Pour strained broth back into the pot. Mix to dissolve the tomato paste. Add potatoes, beets, and cabbage, then cover and simmer over low heat, for 30 minutes or until the potatoes are fork tender.
Step 6: Add vinegar (or beet sour), chopped parsley, dill, and minced garlic. Mix to combine the soup ingredients. Simmer for an additional 5 minutes then taste to see if the seasoning needs to be adjusted. I added a teaspoon of sugar and ½ teaspoon citric acid.
What to Serve with Ukrainian Borscht
Ukrainian borscht is usually topped with a dollop of sour cream or yogurt and garnished with additional fresh dill. You can also use Italian parsley to garnish the finished dish.
Borscht is traditionally served with rye bread but if you’re like me and don’t like rye bread, you can serve it with your favorite crusty bread instead, for example French bread.
SEE: https://hildaskitchenblog.com/recipe/traditional-ukrainian-borscht-recipe/
Ukrainian Cabbage Rolls
Українські Голубці
Ukrayinsʹki Holubtsi
“My parents are Ukrainian and always made this cabbage roll recipe when I was growing up. These cabbage rolls have no meat in them. Sometimes they used salt pork in them, but I didn’t care for it.”
History of Cabbage Rolls
Although the direct heritage of cabbage rolls cannot be certain, it’s lineage can be traced back to Jewish cooking some 2,000 years ago. Recipes vary among Jewish communities depending on region; Romanians and northern Poles prefer a savory sauce, while Jews from Galicia and Ukraine favor sweet-and-sour. Many variations of this traditional dish have since then been adapted throughout numerous cultures.
Recipe for Ukrainian Cabbage Rolls
Ingredients
- 1 medium head cabbage
- 3 cups water
- 1 ½ cups uncooked white rice
- 2 tablespoons butter
- 1 onion, chopped
- salt and pepper to taste
- 1 (46 fluid ounce) can tomato juice, or as needed
Directions
- Preheat the oven to 325 degrees F (165 degrees C). Grease a 2-quart casserole dish.
- Fill a large pot with a few inches of water and insert a steamer basket; bring to a boil. Place whole head of cabbage into the steamer basket, cover, and steam until tender, 10 to 12 minutes.
- At the same time, bring 3 cups water to a boil in a saucepan. Stir in rice and reduce the heat. Cover and simmer until rice is tender and water has been absorbed, about 20 minutes.
- Melt butter in a small skillet over medium heat. Add onion and sauté until translucent, about 5 minutes. Stir onion into cooked rice and season with salt and pepper to taste.
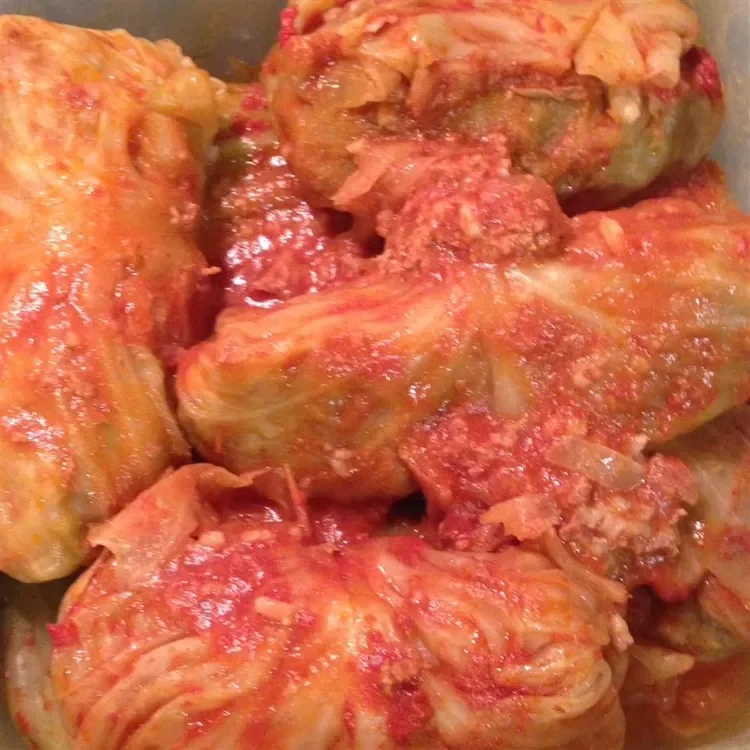
- Cut leaves off cabbage and cut any larger leaves in half. Spoon 1 tablespoon rice into each leaf and roll tightly. Stack rolls in layers in the prepared casserole dish. Pour tomato juice over the rolls, using enough just to cover.
- Cover and bake in the preheated oven for 2 hours.
Chicken Kiev – Курка по-київськи
“A real Kiev recipe, with seasoned butter rolled up in breaded chicken breasts for a richness fit for royalty!”…
From Wikipedia, the free encyclopedia:
Chicken Kiev, also known as chicken Kyiv,[a] is a dish made of chicken fillet pounded and rolled around cold butter, then coated with egg and bread crumbs, and either fried or baked.[3][4] Since fillets are often referred to as suprêmes in professional cookery,[5] the dish is also called “suprême de volaille à la Kiev”.[6][7] Stuffed chicken breast is generally known in Russian and Ukrainian cuisines as côtelette de volaille.[8][9][10] Though it has disputed origins, the dish is particularly popular in the post-Soviet states, as well as in several other countries of the former Eastern Bloc,[10][11] and in the English-speaking world.[12]
History
The history of this dish is not well documented, and various sources make claims about its origin. Since the 18th century, Russian chefs have adopted many techniques of French haute cuisine and combined them with the local culinary tradition. The adoption was furthered by the French chefs, such as Marie-Antoine Carême and Urbain Dubois, who were hired by Russian gentry. In particular, the use of high quality meat cuts, such as various cutlets, steaks, escalopes and suprêmes became widespread in the 19th century, and a number of original dishes involving such components were developed in Russia at that time.[13][14]
A real Kiev recipe, with seasoned butter rolled up in breaded chicken breasts for a richness fit for royalty! This recipe takes a bit of time, but is well worth the effort.
Prep Time: 30 mins
Cook Time: 10 mins
Additional Time: 30 mins
Total Time: 1 hr 10 mins
Servings: 8
Ingredients
- 8 (4 ounce) skinless, boneless chicken breast halves
- ⅓ cup butter, softened
- ½ teaspoon ground black pepper
- 1 teaspoon garlic powder
- 2 eggs
- 3 tablespoons water
- ¼ teaspoon ground black pepper
- ¼ teaspoon garlic powder
- 1 teaspoon dried dill weed
- ½ cup all-purpose flour
- ½ cup dry bread crumbs
- 2 cups vegetable oil
- ½ lemon, sliced
- ¼ cup chopped fresh parsley
Directions
Step 1
- Place each chicken breast between a sheet of wax paper and pound, using a mallet or rolling pin, to about 1/8 inch thickness; be careful not to ‘break’ the chicken. Wrap and refrigerate until seasoned butter is frozen.
- To Make Seasoned Butter: In a small bowl combine the softened butter, 1/2 teaspoon pepper and 1 teaspoon garlic powder and mix well. Spread mixture into a 2×4 inch rectangle on a piece of aluminum foil; freeze until firm.
- When butter is firm, cut into 8 equal size pieces and place one piece on each chicken breast. Fold in edges of chicken and roll to encase butter completely. Secure with toothpicks.
- When butter is firm, cut into 8 equal size pieces and place one piece on each chicken breast. Fold in edges of chicken and roll to encase butter completely. Secure with toothpicks.
- In a small bowl, beat eggs with water. In a shallow dish or bowl, mix together the 1/4 teaspoon pepper, 1/4 teaspoon garlic powder, dill weed and flour. Place bread crumbs in a separate shallow dish or bowl. Dip chicken rolls in seasoned flour, then egg mixture, then crumbs. Place coated chicken in a shallow dish, cover and refrigerate for about 30 minutes.
Heat oil in a large skillet over medium high heat. When oil is hot, deep fry chicken rolls for about 5 minutes, then turn over and deep fry for another 5 minutes until golden and cooked through, with no pink showing inside. Drain on paper towels, garnish with lemon slices and parsley and serve.
Nutrition Facts (per serving)
| 756 | Calories |
| 66g | Fat |
| 12g | Carbs |
| 30g | Protein |
